ok, where have i been… i get it. well in the last 8 months, i have lived in 4 different homes in 3 different cities, raised an almost walking baby, quit my job, gotten rid of my chickens and 3 cats… i’ve just been busy. leave me alone!!
so now that we have bought the home that we will be in for a loooong time, i’m ready to use a kitchen again, and call it mine.
juniper is now eating like a sweet little piglet. at 6 months or so, we started giving her purees like avocado, banana, sweet potato… things i would all make in my baby magic bullet. i started really having a blast making her baby food., getting creative with combos like peas, spinach, and parmesan cheese, or sweet potato with cinnamon and coconut butter…. then it happened. we took her to a greek restaurant where we let her lick humus off of a carrot chip, taste our lamb, suck on the buttery broccoli….. and that was it.
she quit eating baby food that day. THAT DAY.
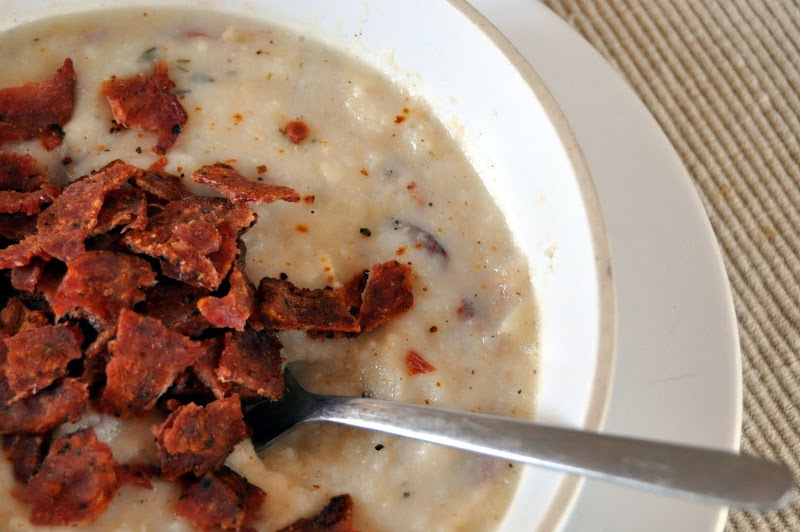
now she will only eat what she can pick up on her own.. meatloaf, meatballs, cheese, sausage, eggs, cut up fruit, gluten-free pasta,… it is sooo much fun, but really hard to remember that she needs different nutrients than we do. extra iron is a big concern of mine, along with extra fiber.
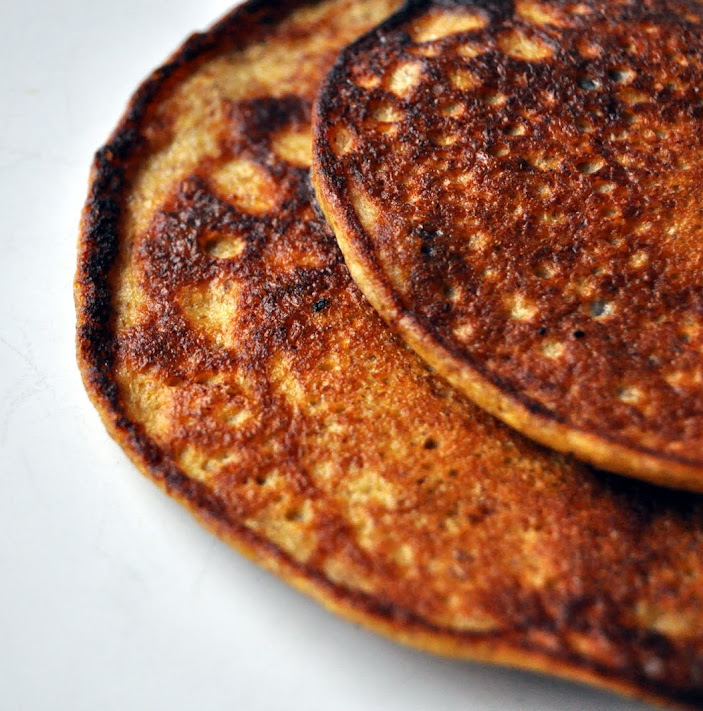
anyway, i decided to start making her quick, easy pancakes in the morning that didn’t have a lot of baking ingredients, to make it easy for her cute little belly to digest. these pancakes are delicious. i make a batch on sunday, then heath them through the week.
juniper loves loves loves them. she gobbles them up faster than i can dish them out!
these are a little more delicate in the pan than “flour” based pancakes, so be ginger with them when you flip. they do set up very nicely, but are a little jiggly before cooked through. adding about a tsp or arrowroot or tapioca starch will help these hold up MUCH better for flipping, but it is not necessary. coconut flour should also do the trick, but i have not tried yet!!
ingredients
1 small/medium ripe banana
2 eggs
2 tbsp flax meal
1-2 tsp arrowroot or tapioca starch (optional)
3 tbsp blueberries
dash of cinnamon
dash of vanilla
method: using a blender, magic bullet, or baby bullet, combine all ingredients EXCEPT for the blueberries until frothy and smoothly mixed.
allow batter to sit for 5 minutes so the flax soaks up a little liquid.
heat a skillet over medium heat. spread a little high heat oil, such as safflower, to the pan to get hot.
pour a little batter into the oiled skillet. sprinkle blueberries over pancake. allow it to set up, bubbles coming through to show it is cooked through.
flip!
cook other side until cooked., maybe a minute or so. continue until batter is gone. store in container in the refrigerator for up to 3 days.
now enjoy this picture of little juniper at the beach!


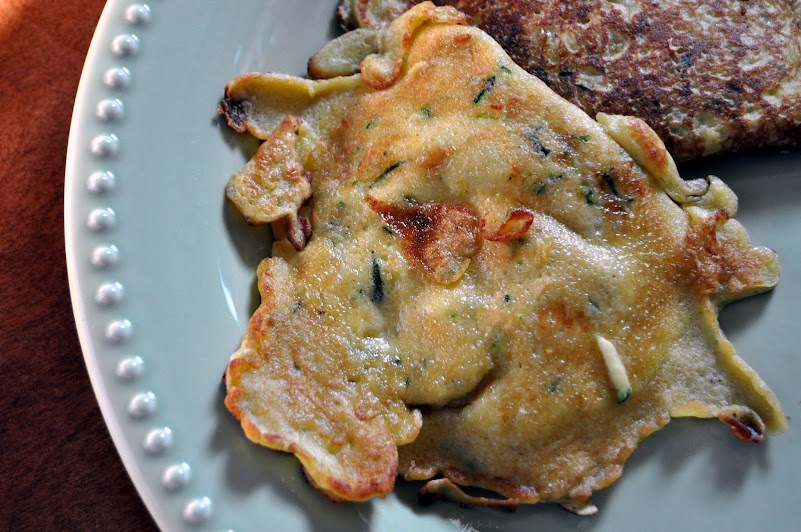
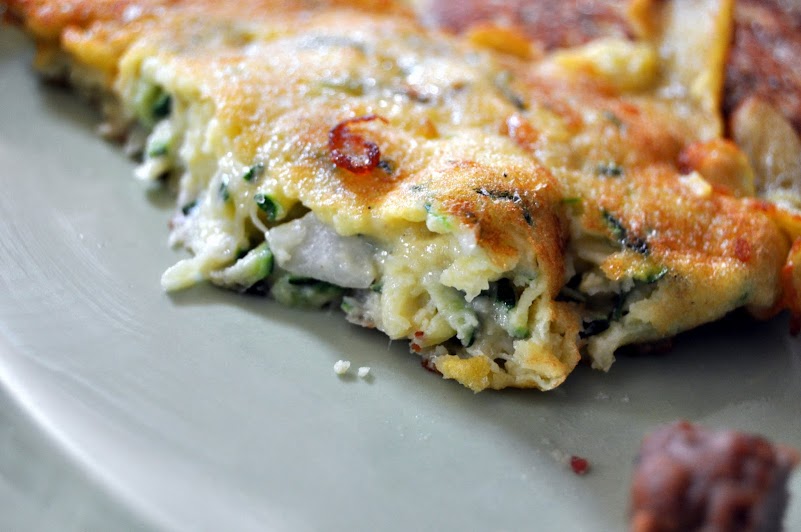 these grain-free fritters were an awesome way to start a really long day at our local amusement park. we knew we would be gone all day with nothing but junk food to rely on for filling our bellies, so i wanted to kick it off the right way. we had a zucchini lying around in the refrigerator from the farmer’s market, and didn’t want it to go to waste… viola! big, healthy, hearty breakfast for 4! we had a little sausage on the side and were fulled up all morning.