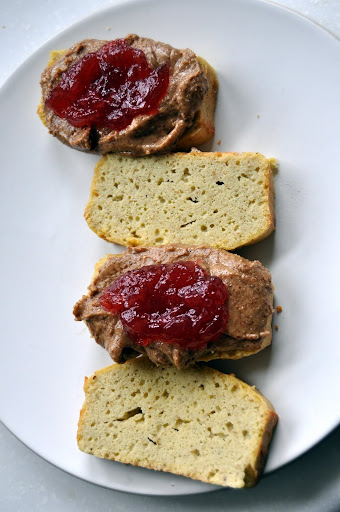
is it just me, or does lemon meringue provoke nostalgia? it always reminds me of the 70’s. it feels like such a retro dessert!
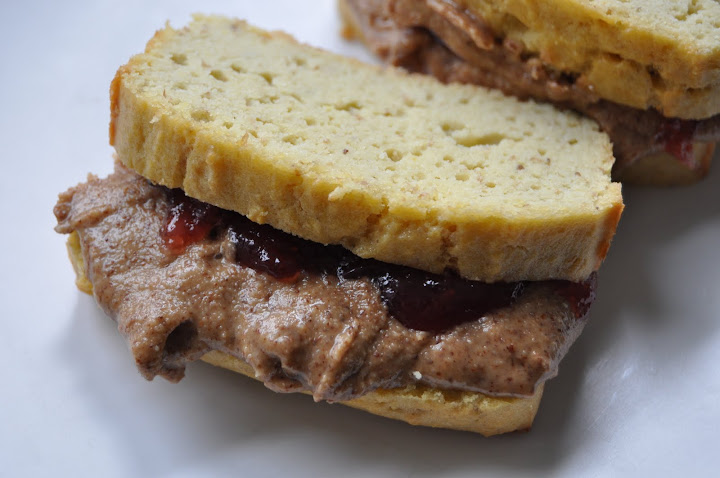
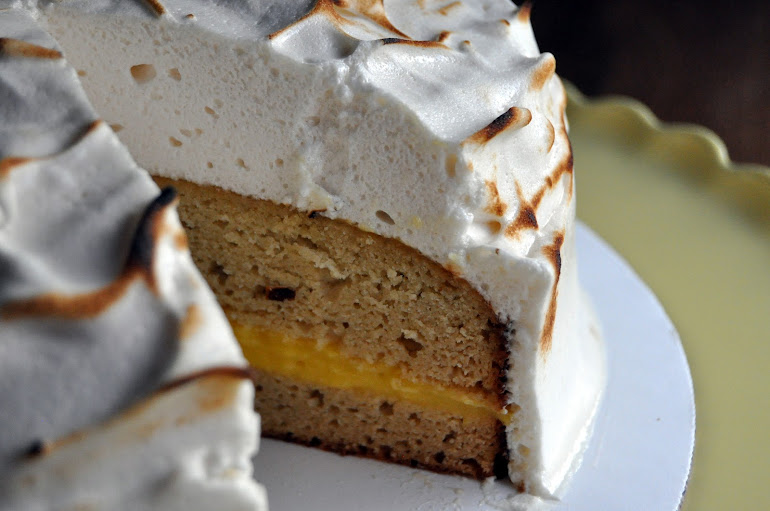
this dreamy cake made its way into my life far too late. tart, cold lemon curd in a sweet, cakey layered sandwich?
of course.
but..
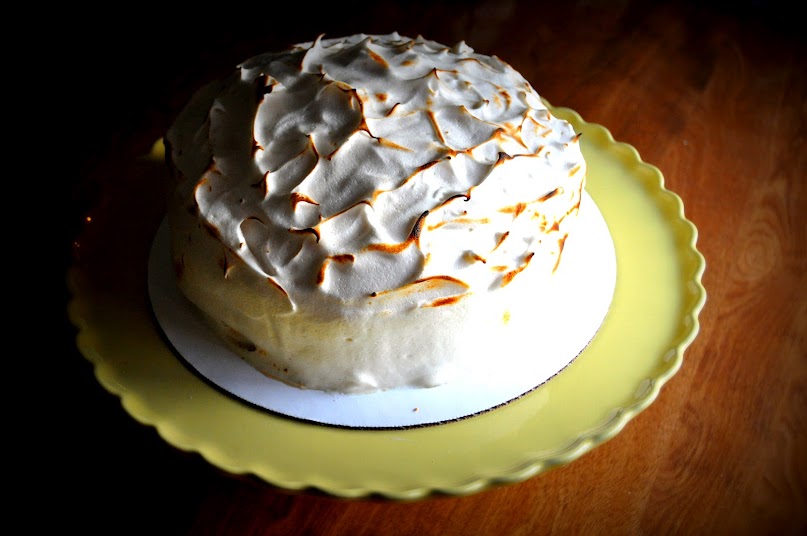
with meringue?
yes, meringue instead of frosting!
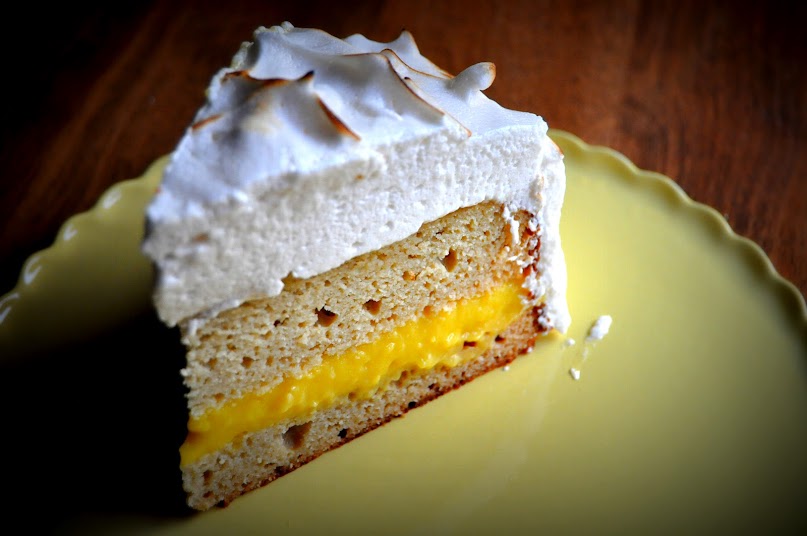
why didn’t i think of that? where has this been all of my life? the pillowy swiss-style meringue is honey sweetened, and is more like a lightly sweetened, toasted marshmallow blanketing the cake than a traditional, dry, stiff coating over that lemon meringue pie at the grocery store.
this recipe is a culmination of many put together. while i will reference all of them, i will write out the recipe as i made it.
the guilt-free treat is loaded with protein from the eggs both in the cake and in the filling and topping. don’t forget about the healthy, clean fats, fiber, and its refreshing and light flavors on a hot day. we demolished it during out 90 degree day last weekend at our BBQ, and there were only leftovers because i hid the last slice deep into the refrigerator before friends came back into the kitchen for seconds.
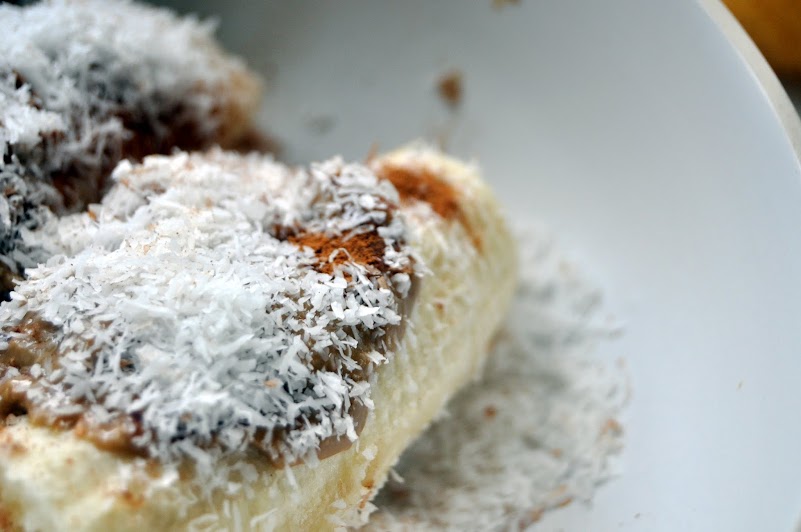
what a crowd pleaser! i could not detect the taste of coconut that people are always anticipating with coconut flour, so don’t be afraid. alternatively, if you love the flavor of coconut, a little coconut butter (1/4 cup or so) would be delicious in this cake if you want to give it some concentrated coconut flavor. the texture is much like a sponge cake, but a little denser. it would make an excellent base for any yellow cake, poke cake, or pound cake.
i halved the recipe, making only one layer, then slicing it through to make a layer cake. i am posting the recipe for one layer, double it if you have a big crowd.
this recipe works best if all of the liquids are at room temperature. it should be made a few hours before, or the day before you put it together with the curd and meringue.
lemon meringue cake
adapted from nourished kitchen’s coconut flour cake
6 eggs
1 cup full fat coconut milk
1/2 cup honey
1 tsp vanilla
1 cup coconut flour, sifted to remove clumps
1/4 tsp baking soda
1/8 tsp salt
method: preheat oven to 350f, place racks in center of oven. cut a round of parchment to stick to the bottom of an 8″ cake pan. use butter or oil to stick it to the bottom, and grease up the sides of the pan.
beat eggs, honey, vanilla and milk until well combined.
separately, combine all dry ingredients together in a dry bowl.
combine the wet with the dry ingredients, and stir until everything is evenly mixed. allow it to sit for 2 or 3 minutes to let the coconut flour soak up some of the wet ingredients. the batter will be thick, but pourable.
pour the batter into prepped pan. bake for 40 minutes.
allow to cool for half an hour before carefully separating the sides of the cake from the pan, then inverting onto a cooling rack.
cake should cool completely before you cut it in half to layer it. also, the flavor will be most excellent when cold. you may refrigerate it to get it cold before you make the curd.
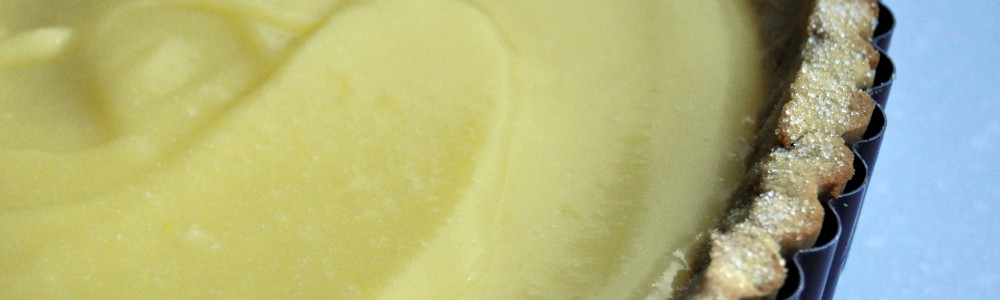
lemon curd filling
variation of my own recipe
4 egg yolks at room temperature (save whites for meringue)
2 whole eggs
2/3 cup honey
zest of one organic lemon
1 cup of lemon juice
12 tbsp coconut oil or butter
method: whisk first 3 ingredients in a bowl. transfer to sauce pan and, over low heat, whisk like crazy until it gets a little pale in color. remember, you don’t want to be making scrambled eggs here, so low and slow is the key here.
add coconut oil, whisk for a few seconds until melted, then quickly whisk in lemon juice.
cook over medium heat whisking constantly, until mixture thickens and a few bubbles rise from the mixture.
remove from heat immediately after you see your first few bubbles, and pour through a fine sieve or cheesecloth into a clean bowl, pushing mixture through. discard pulp in sieve.
allow curd to cool at room temp for an hour before pouring it into the center of your cake. once you place it between the layers of cake, refrigerate it for a few hours so it sets up nice and firm without layers slipping around.
swiss meringue
adapted from cook, eat, love
1 tbsp cornstarch (or 2 tbsp arrowroot or tapioca flour)
1/3 cup water
4 egg whites
1/2 tsp vanilla
1/4 tsp cream of tartar
1/2 cup honey
method: mix the cornstarch and honey in a small saucepan, then add the water and bring to a boil over medium heat. using a wire whisk stir briskly and boil for 15 seconds. remove the thick paste from the heat and cover.
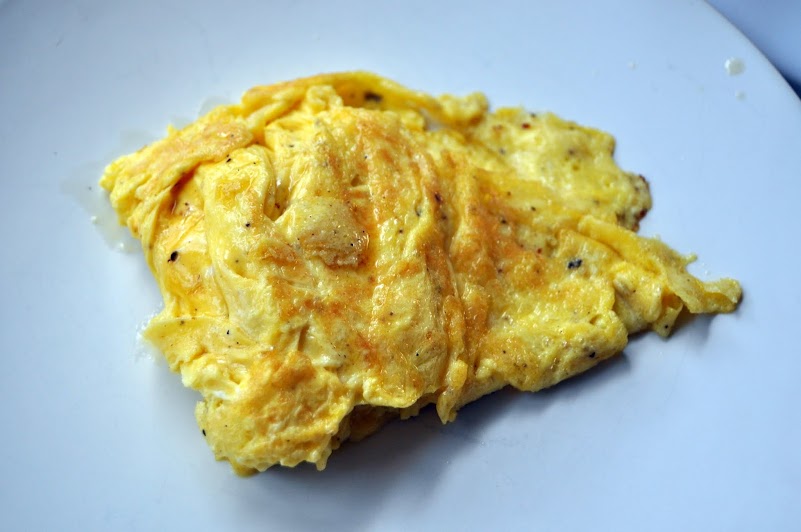
in a clean, very dry bowl, beat egg whites until foamy.
add vanilla and cream of tartar to egg whites, and slowly pour in hot honey and cornstarch mixture while continuing to beat. thick white waves will form, and when you continue, stiff white peaks will form.
once stiff white peaks form, stop mixing.
spread all over cooled cake while meringue is still warm. this way, it will really stick to the cake and take a stiff form. you may fire the meringue now, or put it into the refrigerator until ready to serve. use a kitchen torch to fire the meringue until it is dark brown.
store assembled cake in the refrigerator or at room temp. it will keep in the refrigerator for no longer than one full day. meringue, even cooked, will weep slightly over time.